Webhooks management
Webhooks management is available for every environment in the Customer Portal for SaaS or the Management Panel for the On-Premises version.
Webhooks are managed separately for every environment. You can select the environment to manage from the list of environments by clicking the row with the environment of your choice.

# Creating a webhook
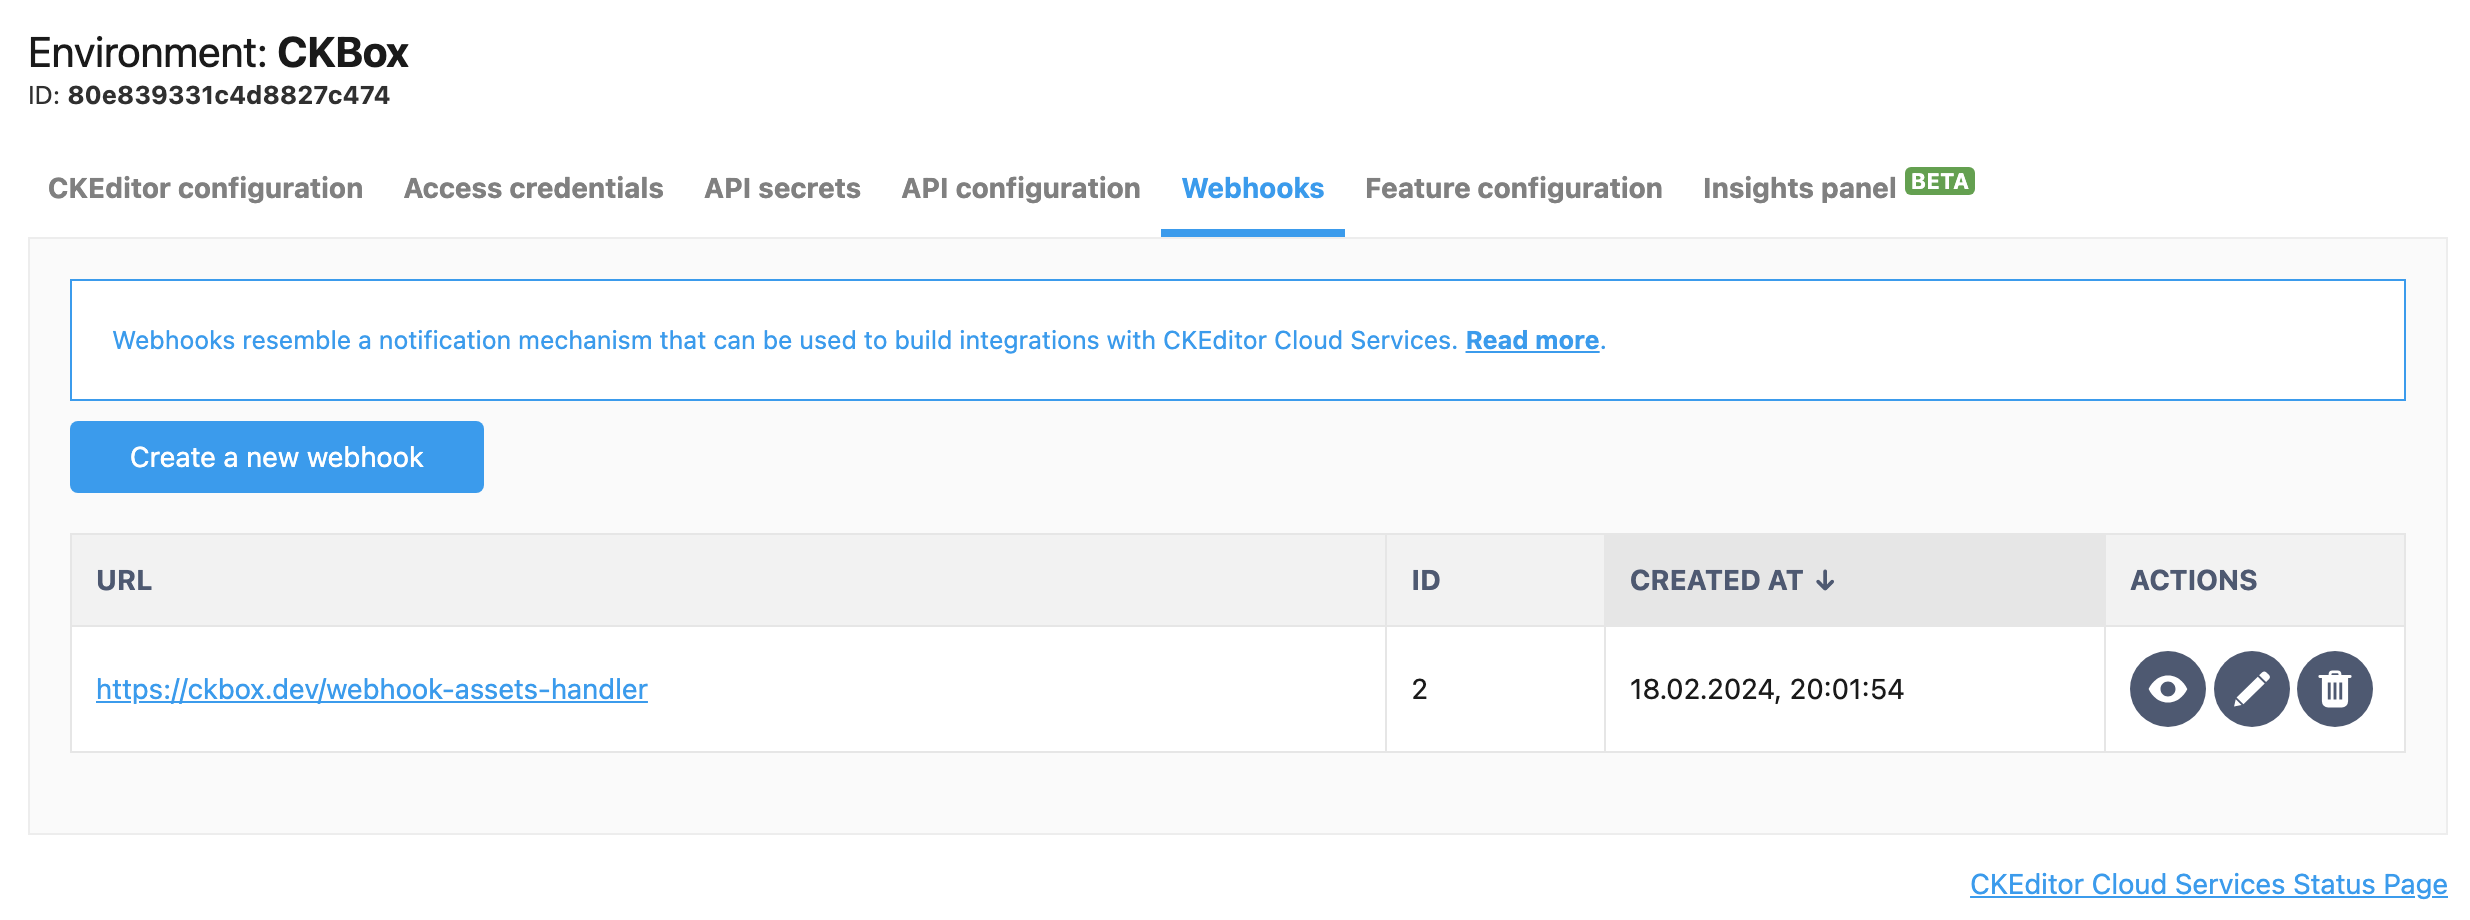
The webhooks can be managed on a dedicated page. To switch to the Webhooks section, click the Webhooks tab.
The page shows existing webhooks and a button to add new ones. The list is empty until you define some webhooks for a particular environment.
To create a new webhook, click the Create a new webhook button.

The “Creating a webhook” page will show up.
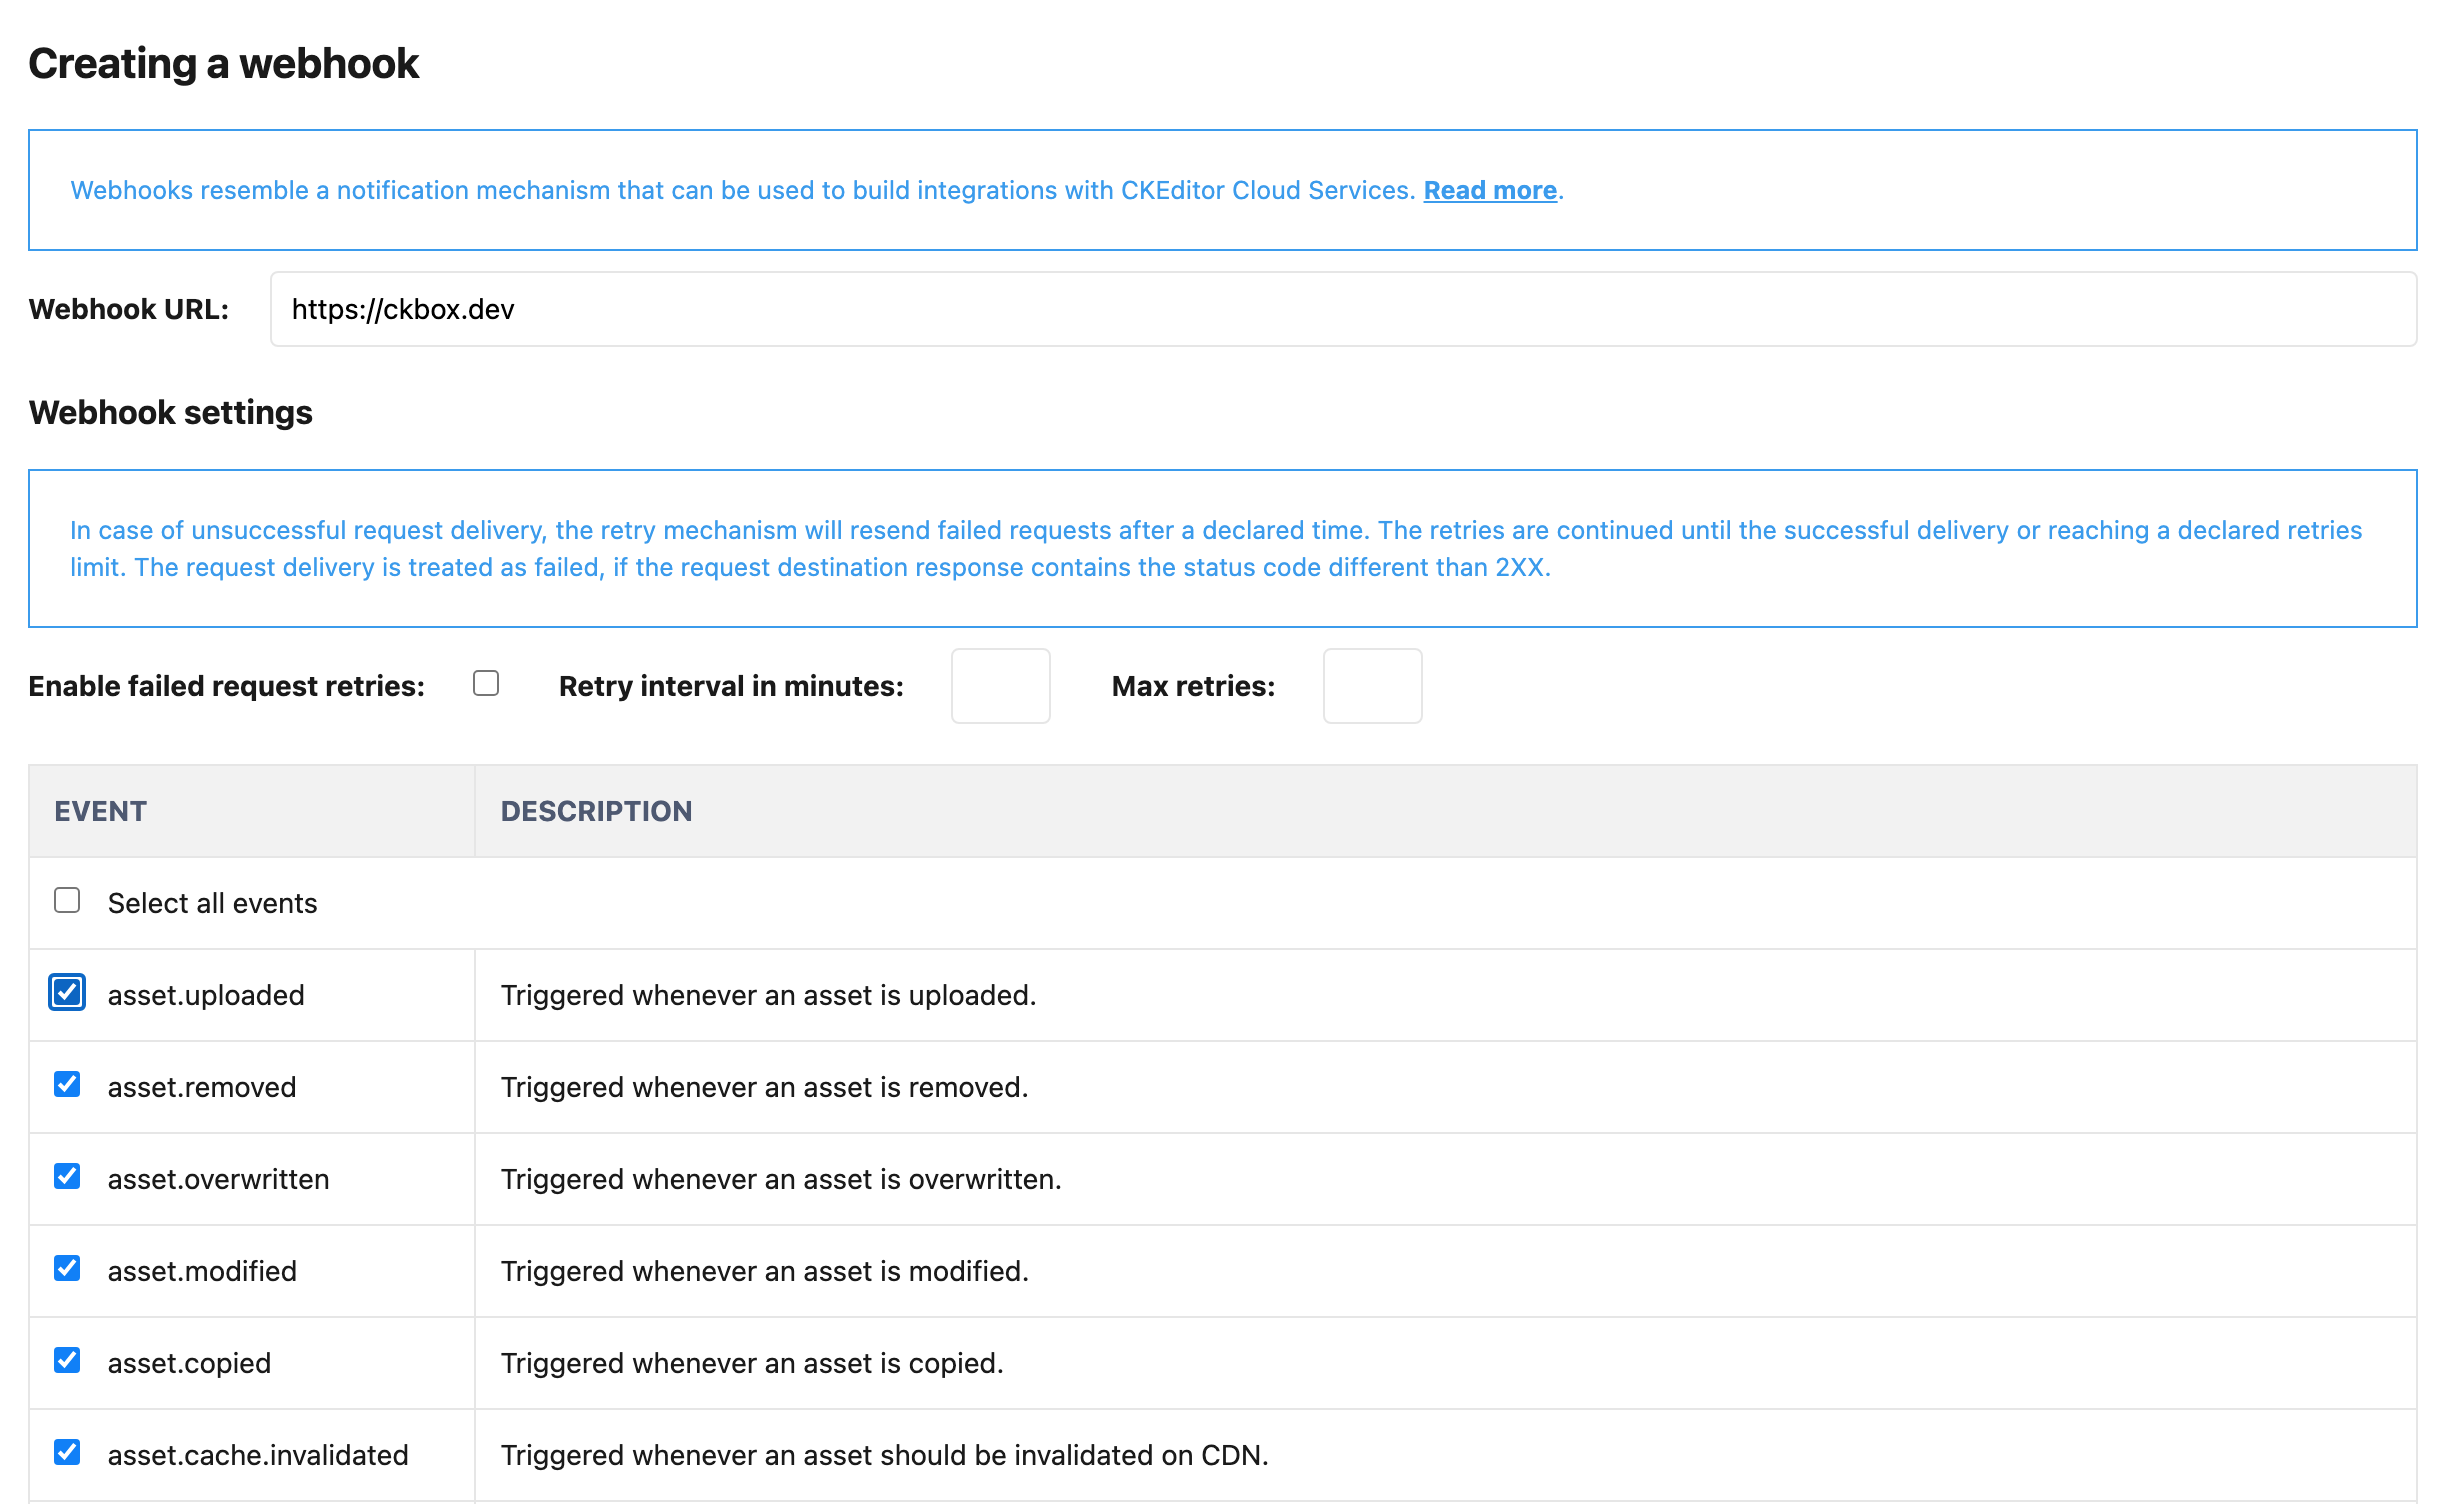
While creating a new webhook, you need to provide a Webhook URL that CKBox will send the requests to. The provided endpoint must be available from the CKBox On-premises application or from the Internet for the SaaS variant.
In the next section, you can configure the retry mechanism. If enabled, the webhooks will be resent in case the response code from the Webhook URL endpoint is larger than 299.
The Webhook request will be retried for of number of times provided in the Max retries, or until the response status 2xx will be returned.
Between each retry, there will be a delay, depending on the Retry Interval in minutes value.

The next section allows you to select events that will trigger the webhook.
A single webhook can be triggered by many events, depending on the needs.
See the full list of available events in a dedicated article.
To finish the process you need to click the Save button at the very bottom of the form.
The newly created Webhook will appear on the list in the main view of the Webhooks tabs.
# Updating a webhook
Each webhook visible in this list can be edited. It can be done by clicking the Edit button.
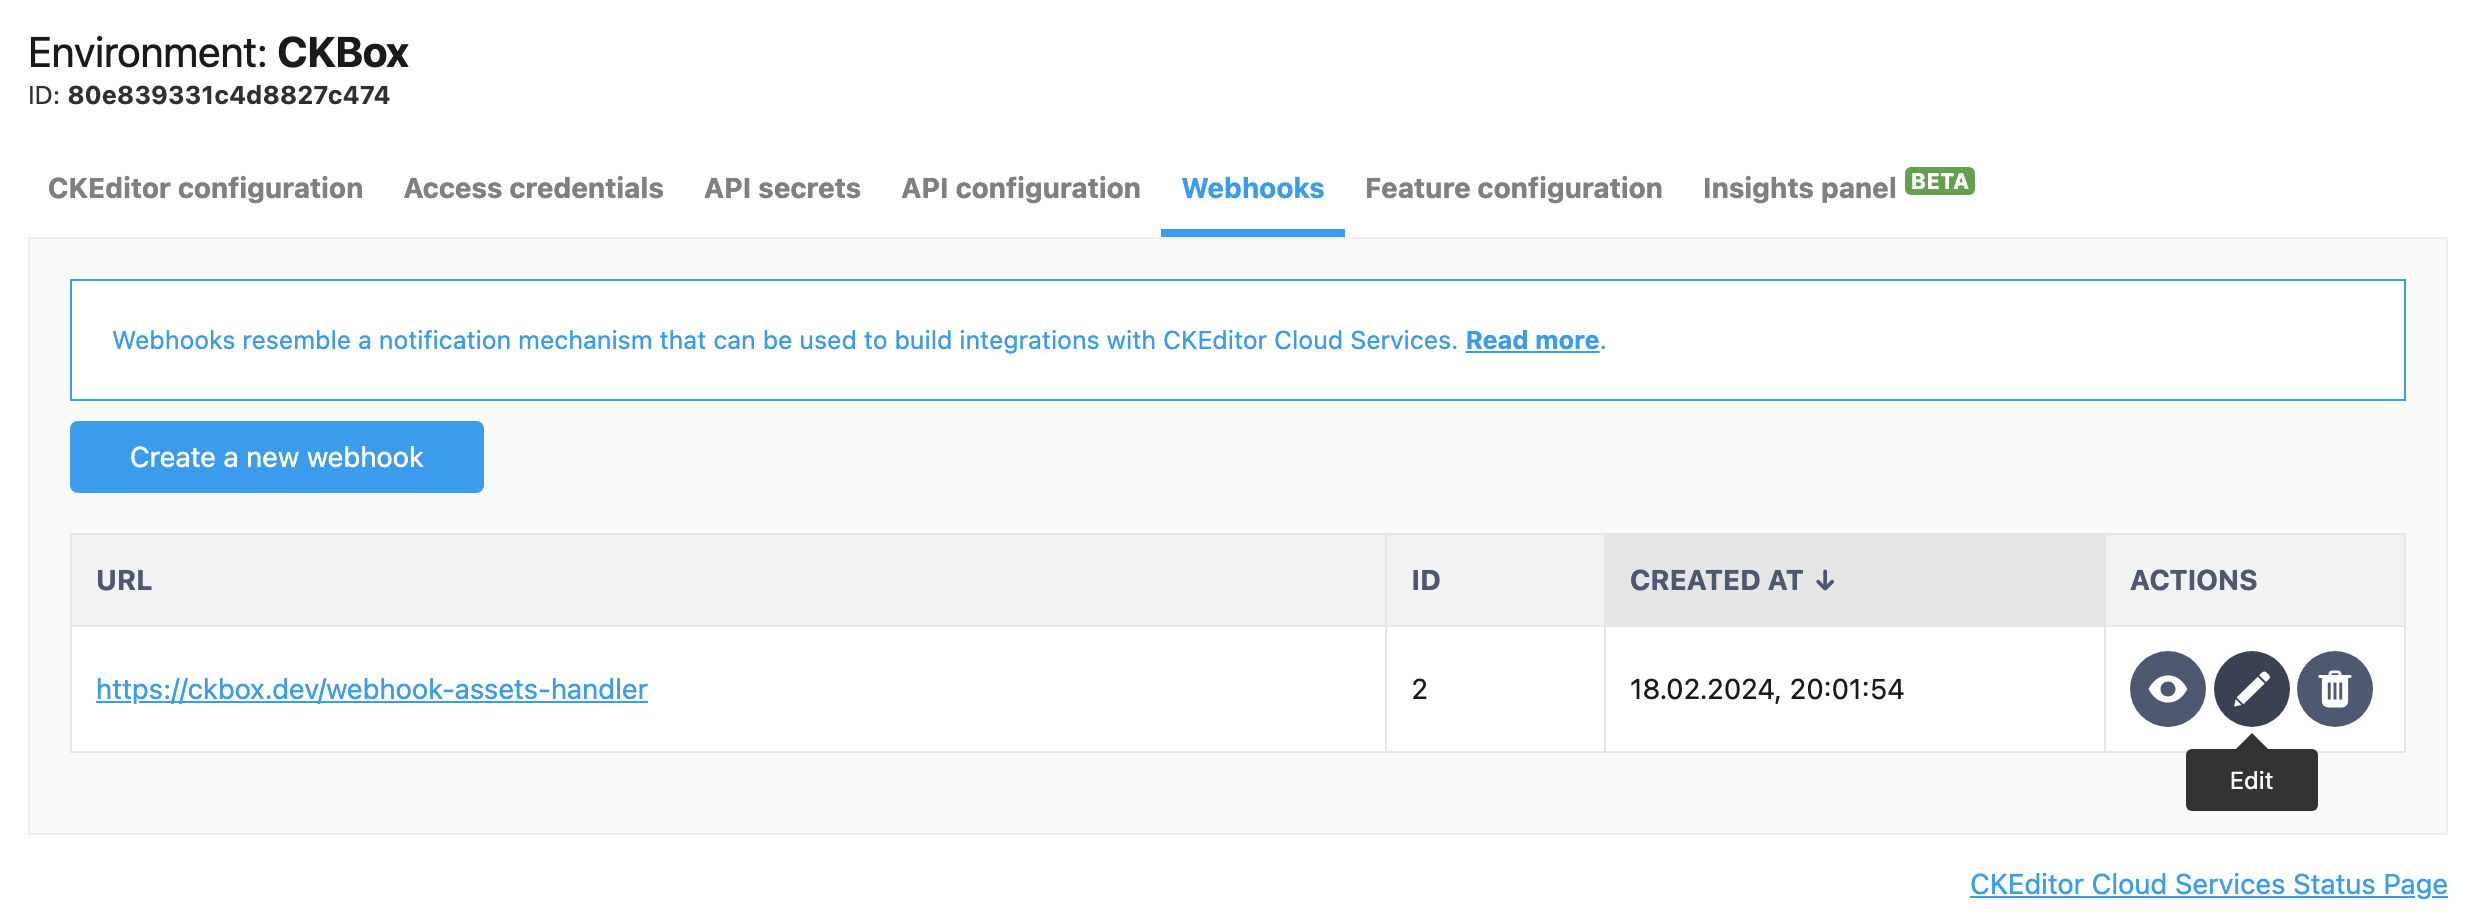
The button will open the “Editing the webhook” view. It presents the same set of options as the “Create a new webhook” view.
You can change the Webhook URL, the set of events that will trigger the webhook and the settings of the retry mechanism.
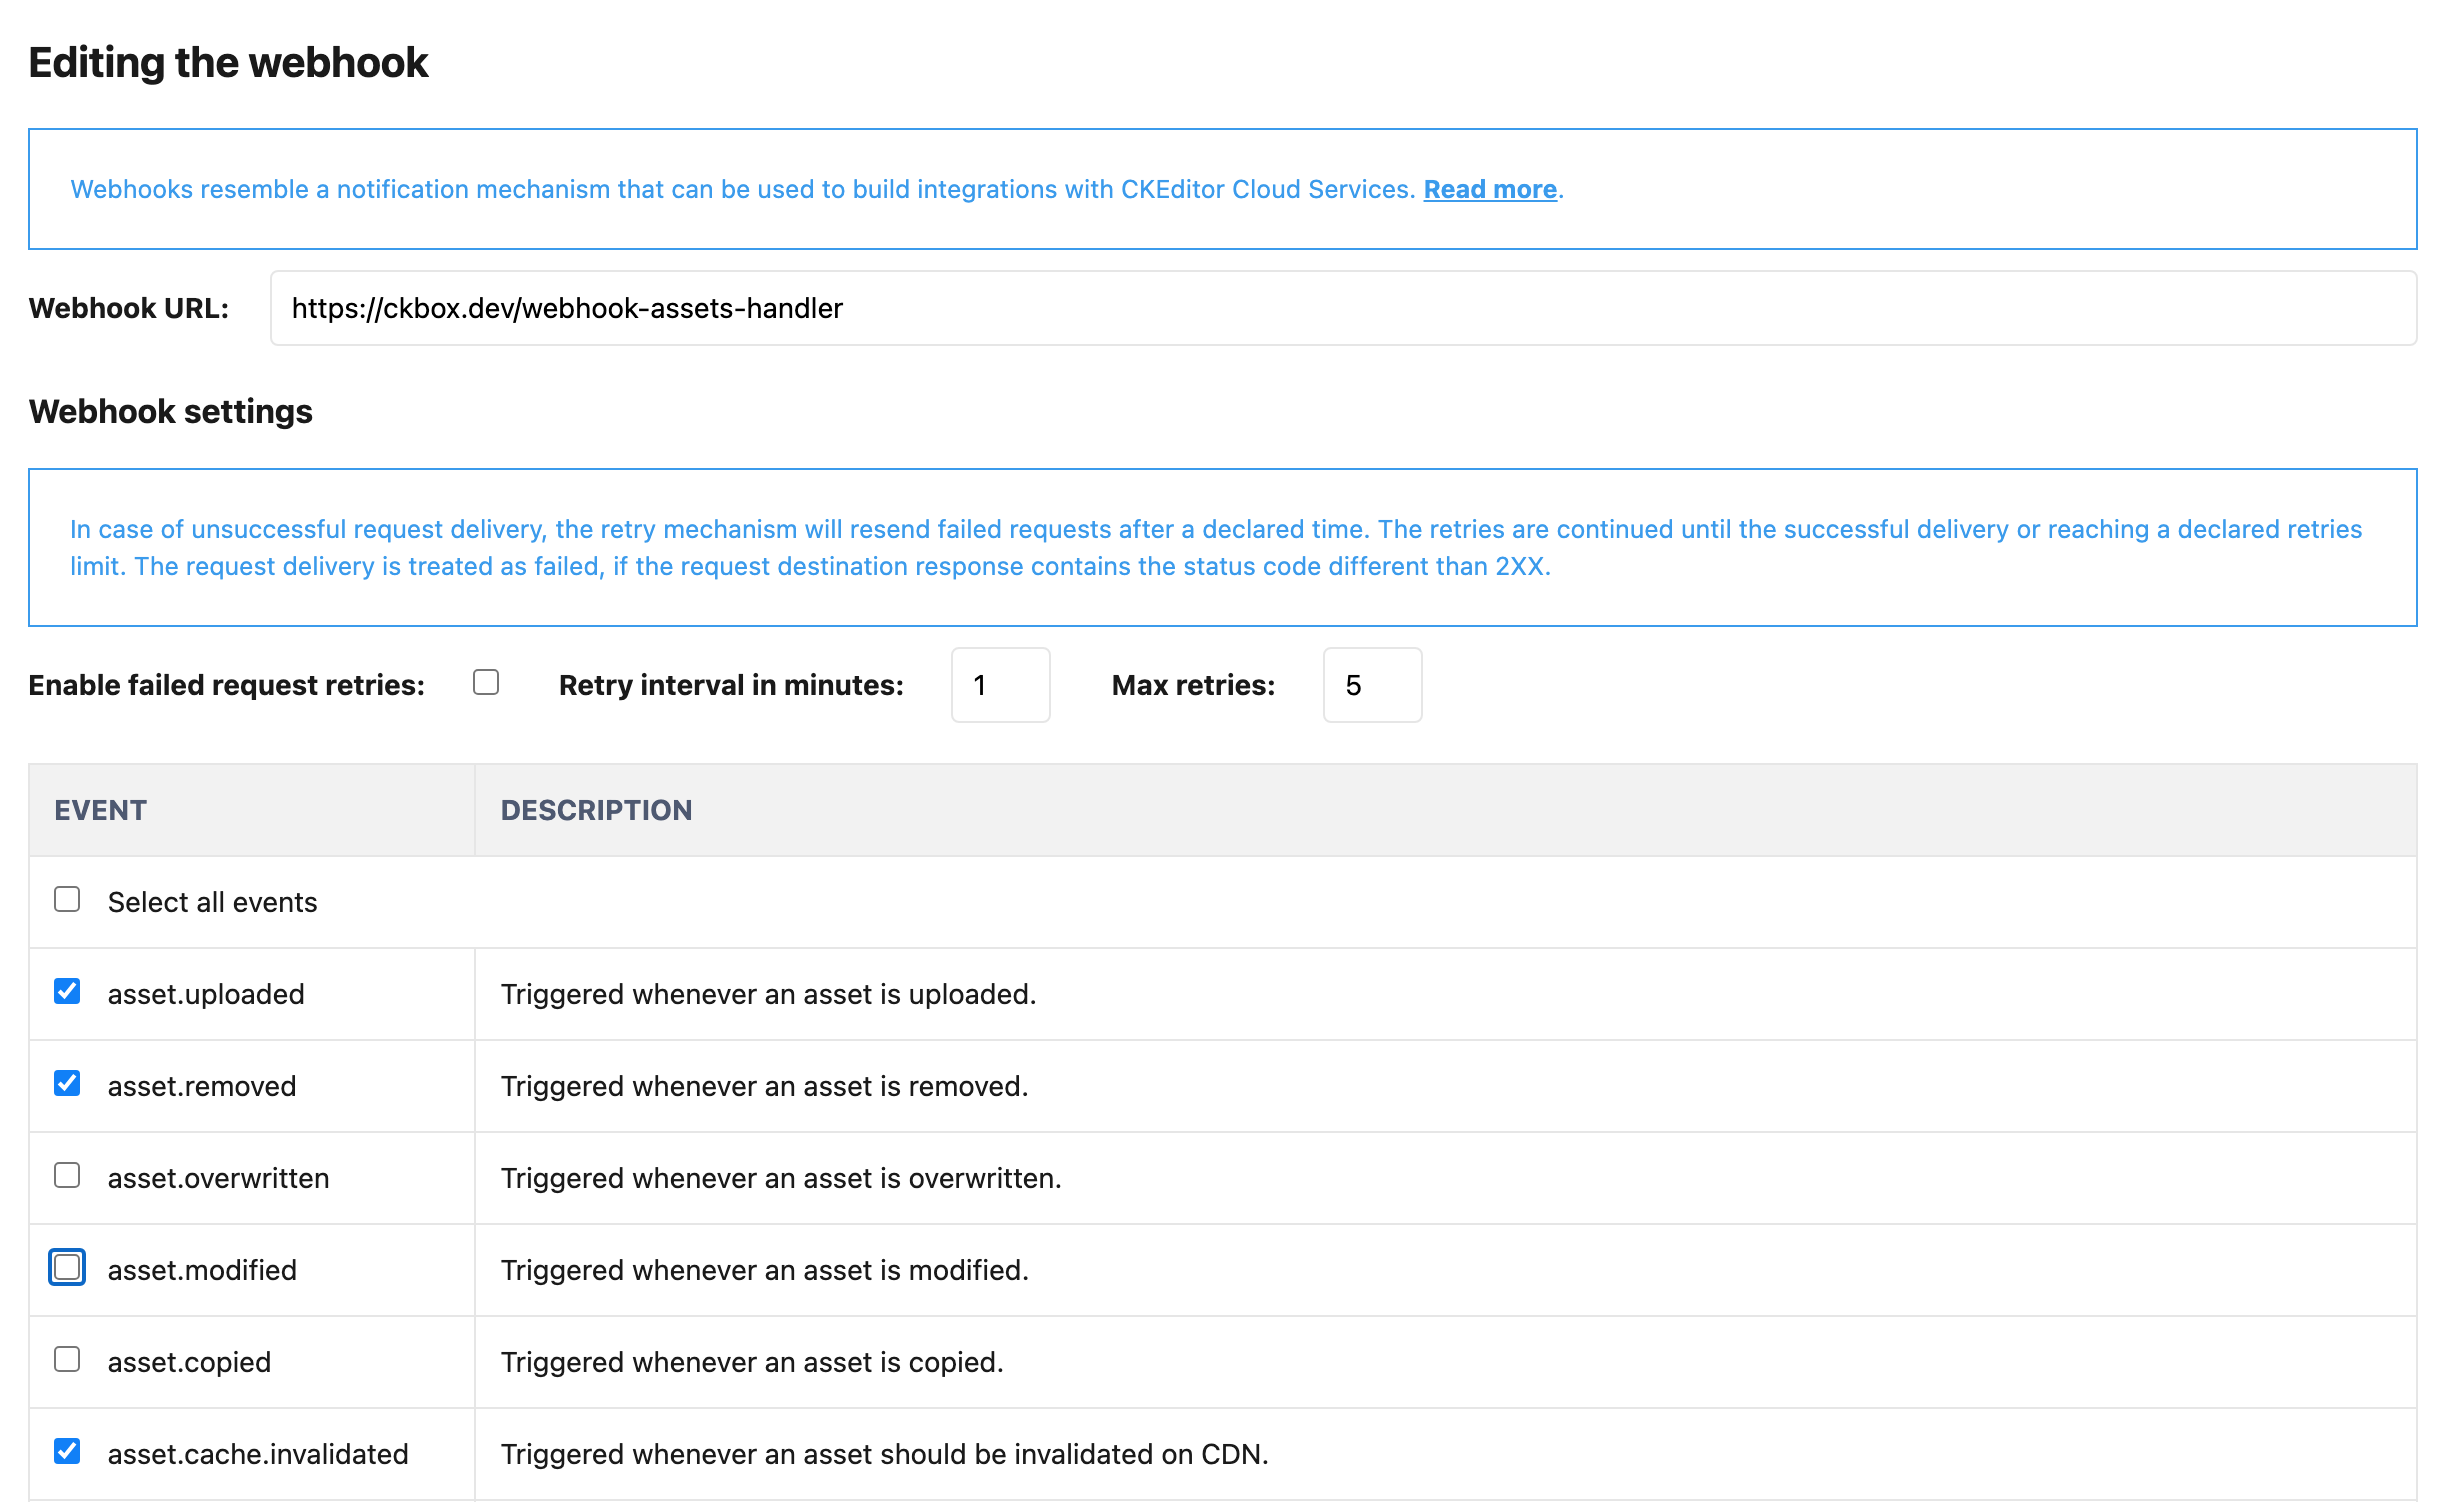
If you decide to disable the previously enabled retries mechanism for a particular webhook, it will cancel all pending retries for that webhook.
To save the changes you need to click the Save button at the very bottom of the form.
You will be redirected to the list of created webhooks.
# Removing webhook
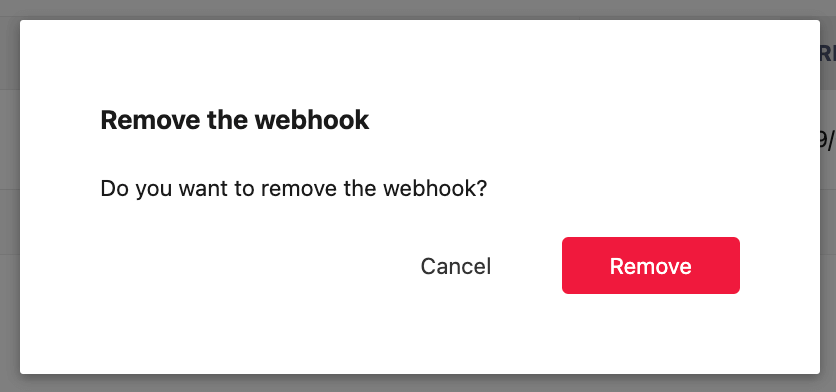
To remove a webhook use the remove button with an icon of a trash bin next to the selected webhook.
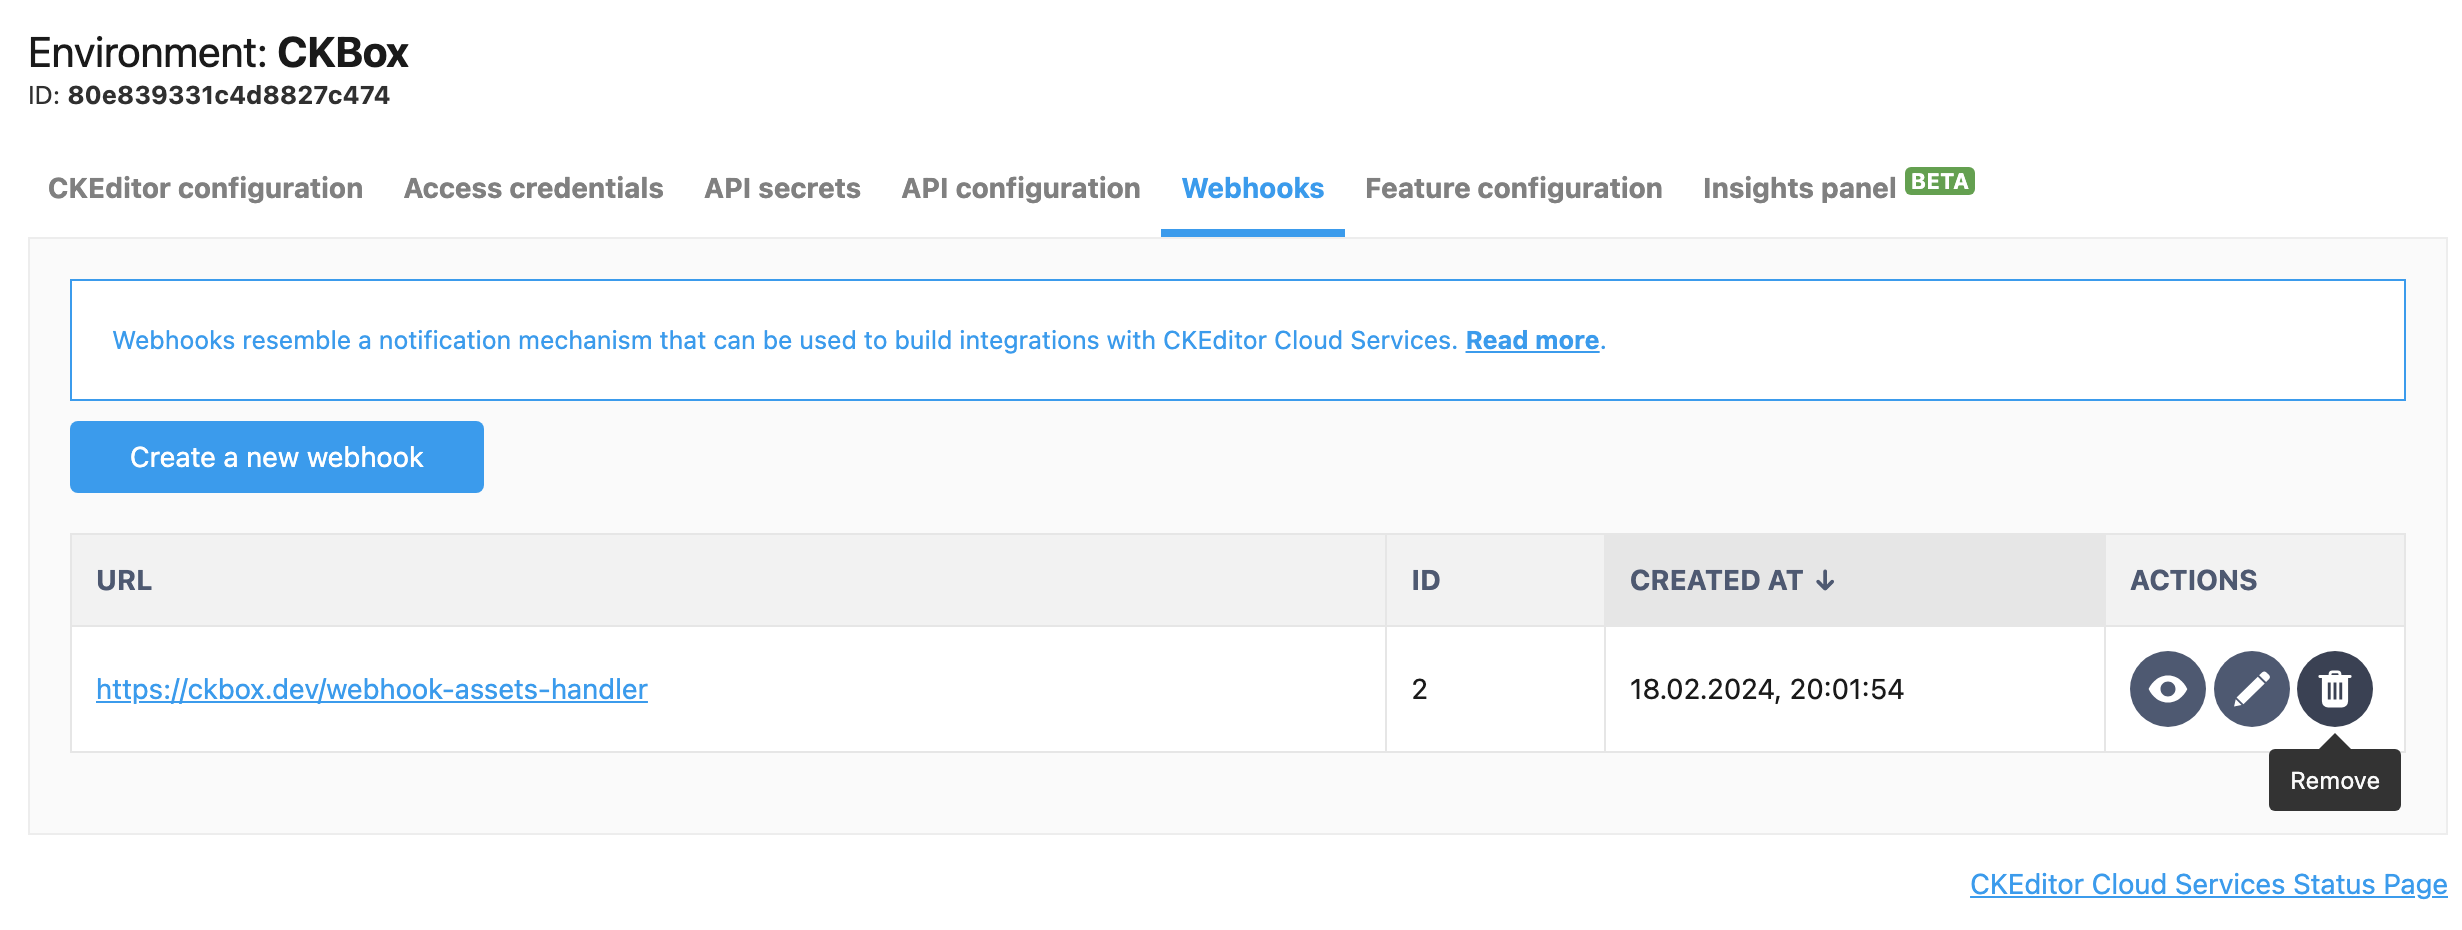
You will see the prompt to confirm the removal.
